Making Hypertufa Plant Containers
Hypertufa is used to make stone-like rustic planters. They
can be outside for years, looking even better as they weather and get mossy.
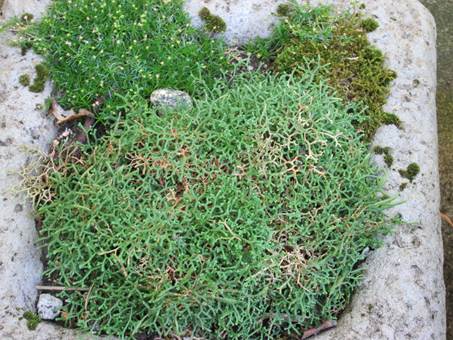
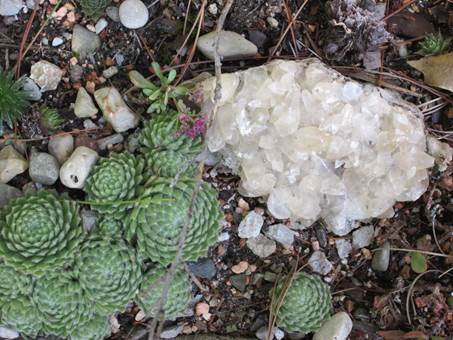
Small perennial plants can stay in them year around. Moss and algae may grow on
them in the shade.
There are many recipes and methods for using hypertufa.
Generally it is made of cement, peat moss, and sand or perlite. It can be
molded over or within reusable forms such as dishpans. The method I have
learned is to cover a styrofoam container with hypertufa, except where soil
will hide the styrofoam. Planters made this way have reduced weight and can be
planted a few days after you make them. Other types of hypertufa planters must
be weathered or rinsed for several weeks before planting so that alkali from
the cement will not leach into the soil.
Preparation of the styrofoam:
· Styrofoam coolers, steak shipping containers,
etc. work great. It's OK if the styrofoam has cracks and dings in it. Rigidity
is good. Amix of sizes and shapes is nice.
· Make two planters out of one
styrofoam container by gluing the lid on with yellow wood glue, then slicing
the container in two with a kitchen knife. Planters can be shallow if
what you are planting has shallow roots.
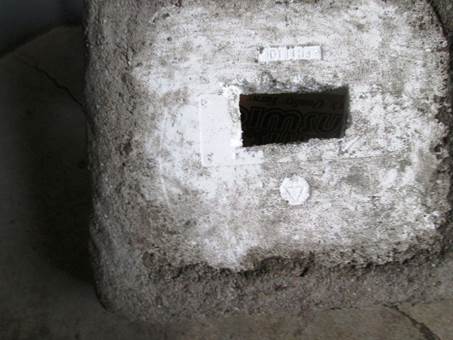
· Cut a drainage hole about 3"
by 3" in the bottom. Later you'll put screening there.
· Use a foam brush to paint the
styrofoam with a thin coat of yellow wood glue. This helps the hypertufa
adhere. It doesn’t matter whether the glue is dry or not when the hypertufa
mixture is applied.
Mixing the hypertufa:
· Put on gloves.
· In a tub, mix 1 part cement, 2
parts play sand, and 2 parts sieved peat moss. The sieving breaks up the clumps
and removes larger twigs. A half-inch screen is fine.
· When it's well mixed, add water a
bit at a time to make a stiff mix. If it’s too dry it won’t stick; if it’s too
wet it will slump. It’s OK to add water as you work.
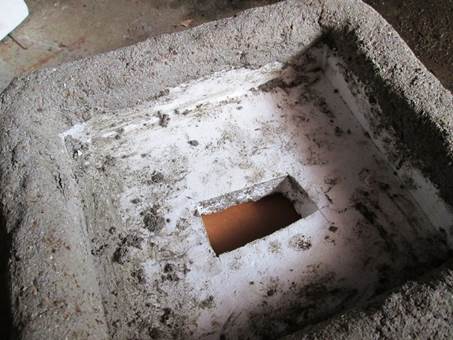
Applying the hypertufa to the styrofoam:
· Use gloved hands to press a
handful of the hypertufa mix onto the styrofoam. Mold it to about 3/8" to
1/2" thick. Keep your styrofoam from flexing.
· Add another pat and continue,
blending each with the others. Press.
· Cover either the top half or the
bottom half today, then cover the remaining half tomorrow or later. On the top
half, go over the rim and about a half inch over the sides. The soil will cover
the inside of the container up to the rim. On the bottom, go around the edge
and in a couple of inches for strength, leaving the drainage hole completely
open.
Letting it dry and cure:
· Cement products become stronger if
they dry slowly, so keep it dry and shaded for a week after you finish.
However, you can plant it once it feels dry, in a few days.
· Put a piece of landscape cloth
over the drainage hole, fill and mound up slightly with soil mix, and plant.
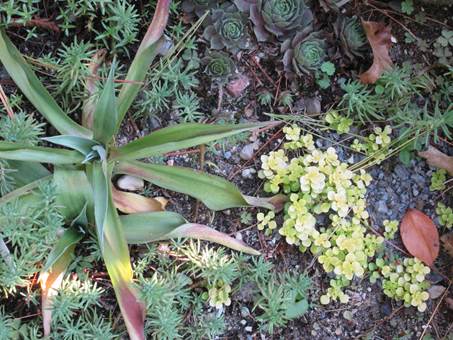
Grit that is used for baseball mounds is good for many alpines. I like to add a
pea gravel topping or moss for shady planters. A few special rocks or wood
pieces fill the space until the plants fill in.